To help make things easier, I am copying the post for the starter rebuild and pasted it here also, which in it's entirely is 2 posts on the subject, so I combined them both into one with some editing. Or if anyone prefers, can just click on the link also.
This post I will share tips on rebuilding starters. I won't be doing a step by step for the obvious stuff, like unbolting the unit from motor, taking it apart, stuff like that. It would take too long and is straight forward. These will be tips from a professional who does this for a living (20+ years) ME. Part of what I do at my full time job is rebuilding, modifying, custom finishes, and designing starters for, well mainly old school V8 engines and then MASS produce them. I use the term professional loosely, LOL, because it took me over 10 minutes with a screw driver and pliers just to get the clip off the armature shaft that holds the gear on. Good thing my boss didn't see that or he would be making fun and pointing at me along with him telling me tank jokes about me, LOL. OK pressing forward........
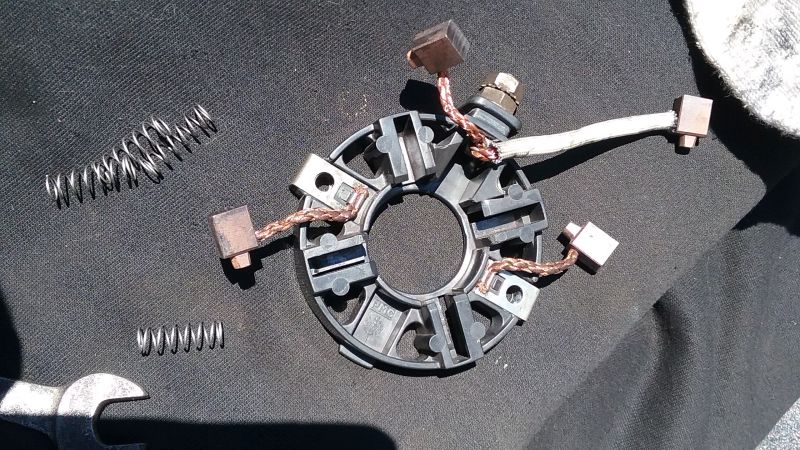
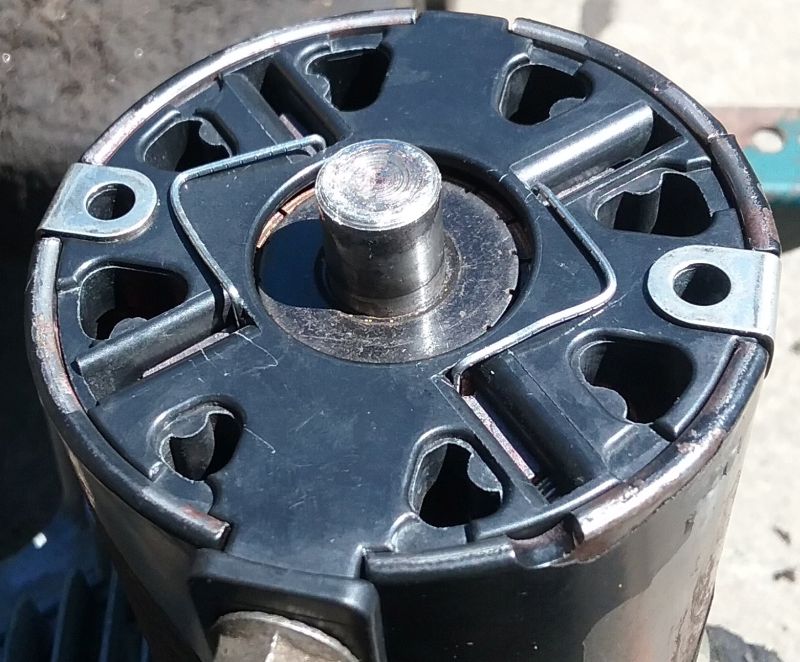
Tearing the starter apart, 2 bolts on backplate holds the whole thing together, remove them. Doesn't matter how the backplate goes back on but can go on either 2 ways, remove the backplate. You see the brush holder, pull it out, the brushes shoot out doing this so don't loose the springs. Before removing motor housing, mark housing in reference to frontplate for clock position, then pull the housing off. Remove the clip that holds on bendix that holds the gear on, remove clip holder, spring, gear, bendix housing. Pull the armature out of front plate. Starter is completely apart now.
On my starter, one of the magnets moved out of place towards the brush holder which made the starter weak to turn the motor over. Plus no grease on the bendix for the gear which is probably why it got stuck.

Here are the magnets, Note that on one side, the magnets have a marking and on the other side, they don't. It matters how they go into the housing, you know that north south thing. The white marks also indicate top and bottom. Tabs hold the magnets in place and in my case, one of the tabs bent under the magnet to where the magnet moved up past it. I remove both magnets to expose the housing which is bare metal and rusting.
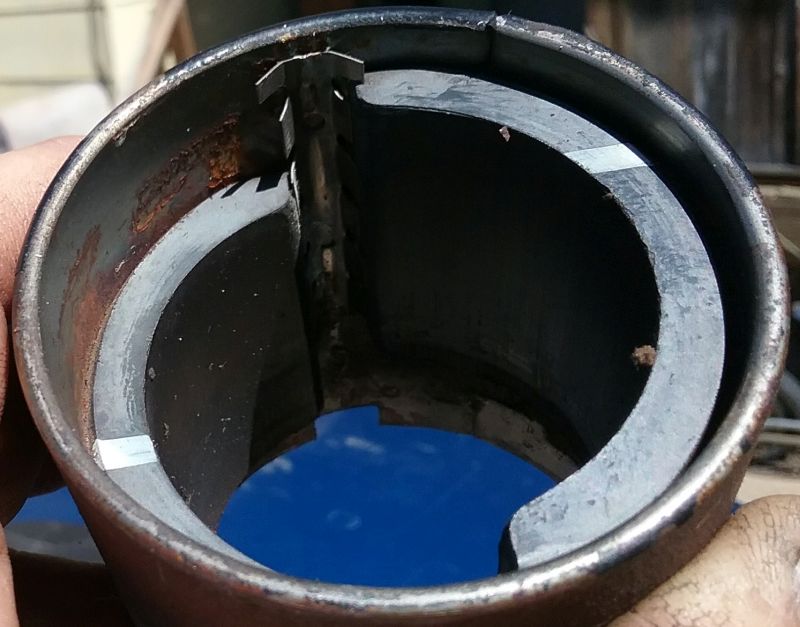
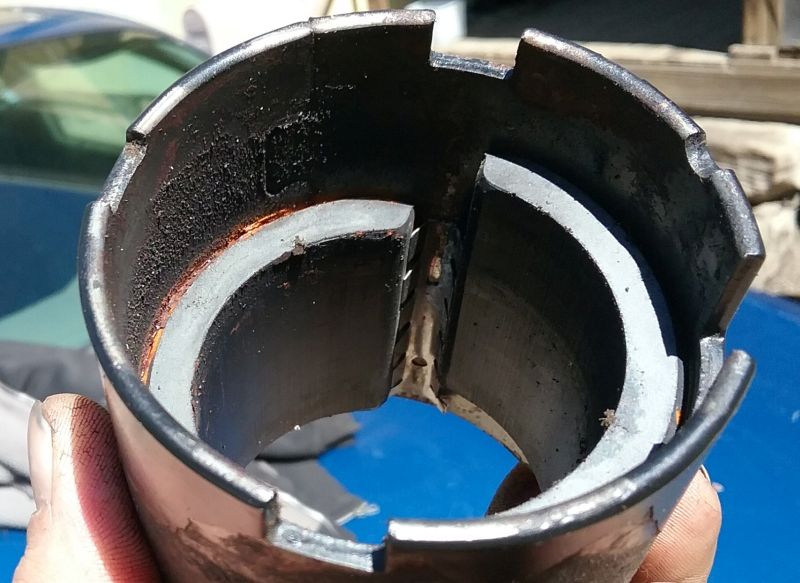
I clean the rust out of the housing. Then I paint the area under the magnets to keep them from rusting again. The rust will build up and push the magnets into the armature, not good. After painting, I put the magnets back in.


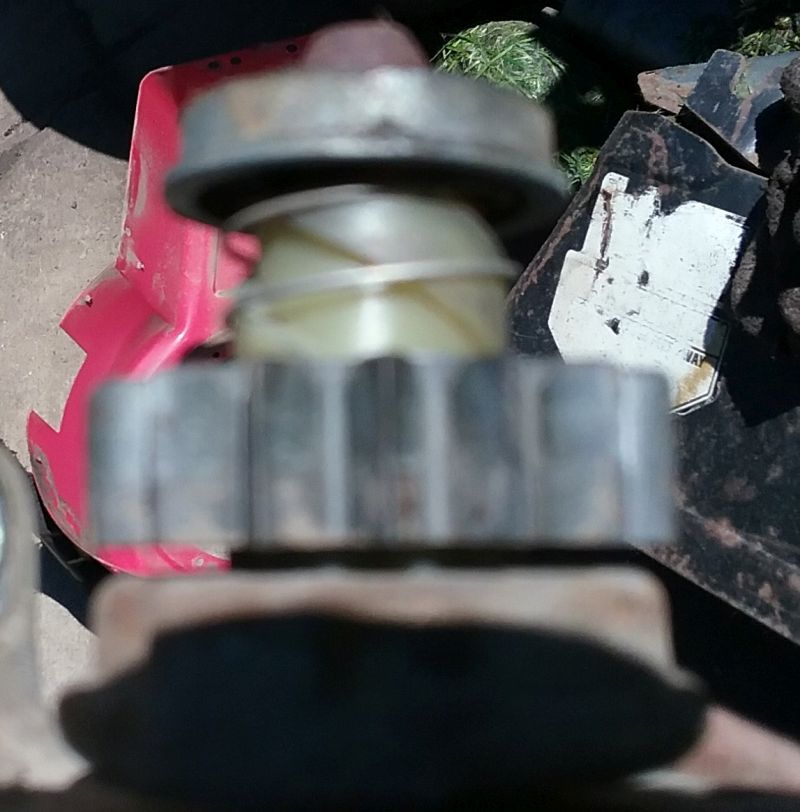
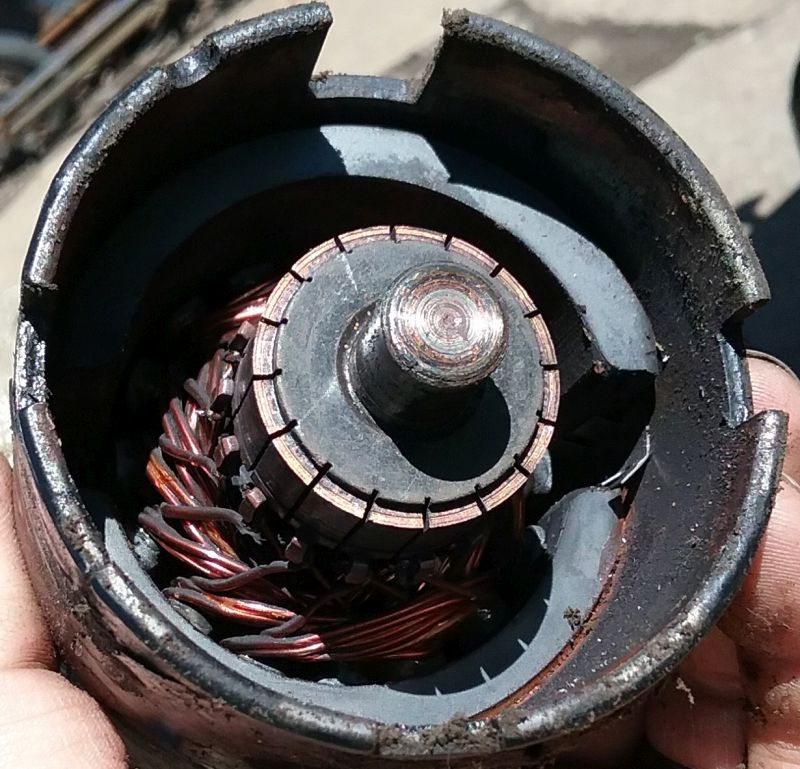
Yes this pic again, forgot to take one of the armature. The Part of the armature the brushes ride on, sand it to clean the copper (ofcourse). If any grease gets on this part the grease will burn into goo and will make the starter drag so should be clean and oil free. On some armatures there are slots between the copper strips where the brushes ride on, clean these slots out because that dirt is copper dust from the brushes and will make the electricity jump over to the next slot before it needs too. The slots are there to control the copper dust, to trap it there till the next rebuild. Other armatures are filled with insulating material and no maintenance is needed. Do these 2 steps in the order I said. You don't want to clean the slots then sand the copper straps only to fill the slots back up. Next is to blow out the armature wires with compressed air. The copper dust is inside the wiring and will short out the armature from inside those wires if buildup of this dust gets real bad. You'll be amazed on how much copper dust is in there.
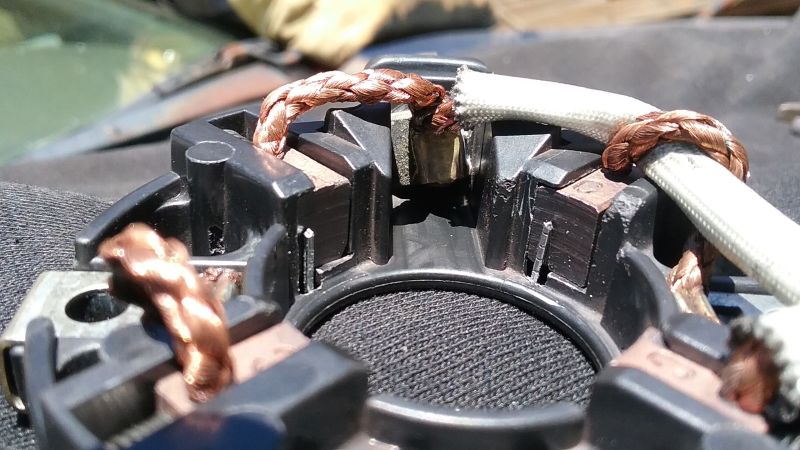
This pic is for reference purposes. Note brush wires with covering (+ wires) and bare wires (- wires). The - wire clips are held in place with tabs on brush holder. + wires go to post for battery wire. Brushes are still good. Alot of copper dust covering the plastic too.
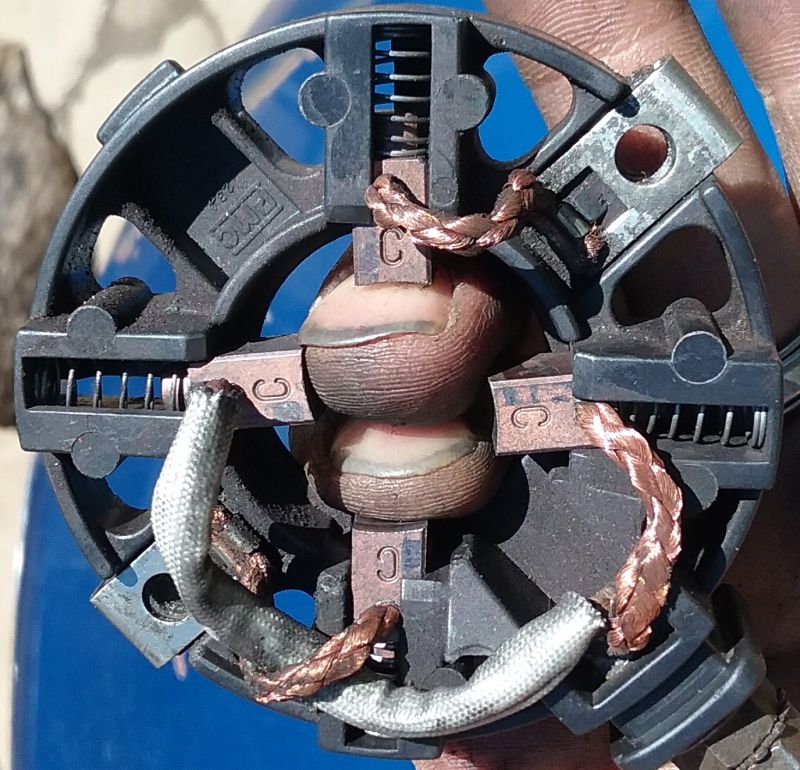
Close up of brush holder that is dirty. That copper dust will short out here there and everywhere. Clean brush holder so it is dry, oil free and dirt free. Make sure brushes move freely in the holder slots.
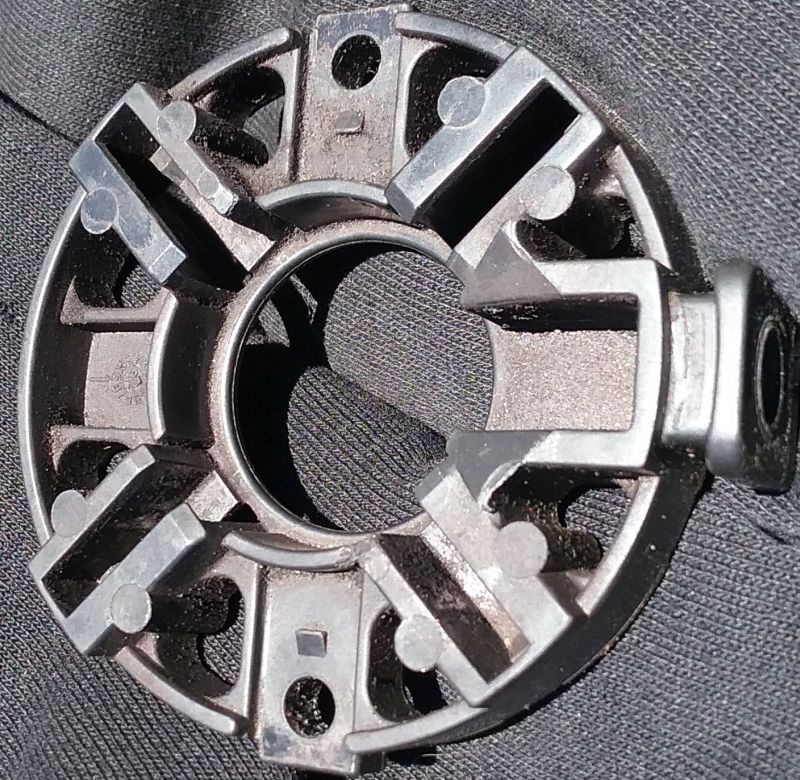
Brush holder cleaned and put back together. And clean the springs too, clean and dry.
Getting the brush holder back on the motor with the brushes set will be a pain. Figured out how to make a brush holder tool to set the brushes by holding them in the holder so I can just set it in place and pull the tool out and the brushes spring into place. Need 2 of these tools.
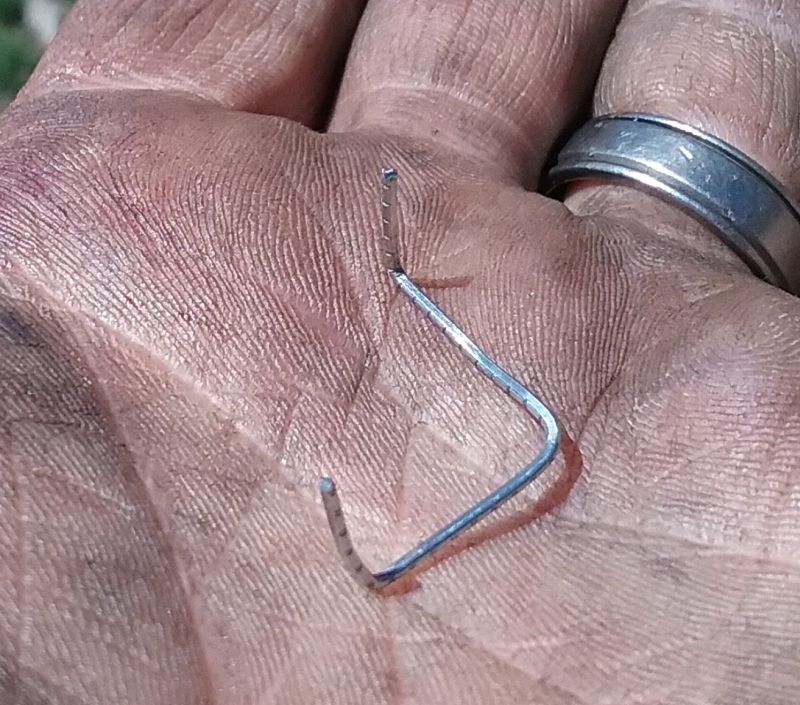
Made the 2 tools from a paper clip. Each tool holds 2 brushes in, in the brush holder. Just put the spring in and push the brush in and slide the tool in the slot. That simple.
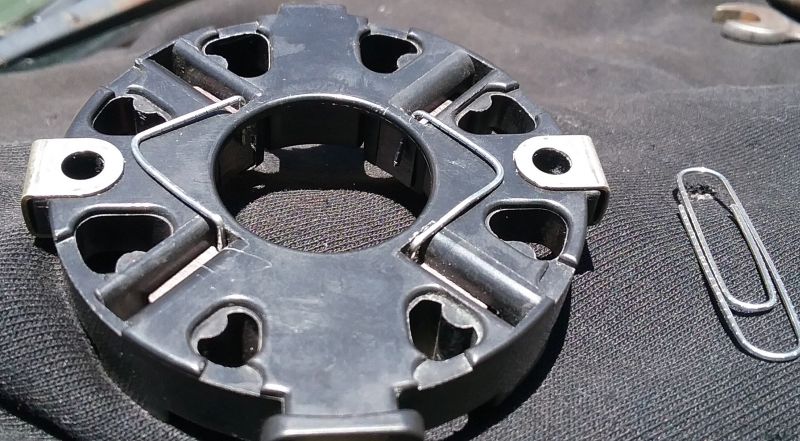
Here you can see how it holds the brushes in place. With the brushes set, you are able to move the wires to where they are not touching anything to short out like a bolt or housing. So predict where the bolts will be going through this part and how this part is set on the housing. The wires brush wires move very little just so you know.
Now just set it in place and pull the 2 tools out, taking note the sound of the brushes hitting the armature. Move the armature side to side to see that the brushes follow and never loose contact with the armature.
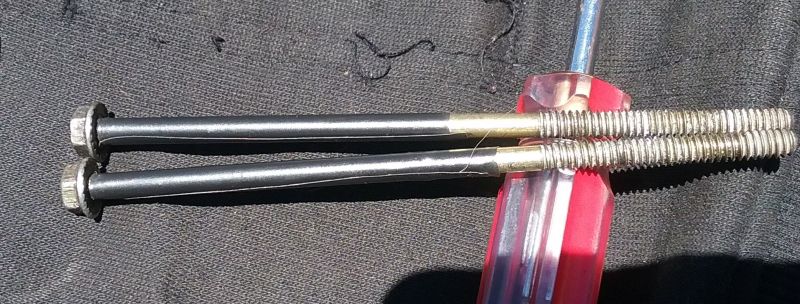
The thru bolts. Just a bolt right? No! They pass through the brush holder next to wires. These wires if they are just laying on the bolt with covering on the wire, will burn thru the covering and short the starter. An extra layer of covering is in order here. Electrical tape works great for this among other things that is harder to get a hold of.
Cover the bolt shank with the electrical tape going long ways from the bolt head down. Put in starter housing and tighten.
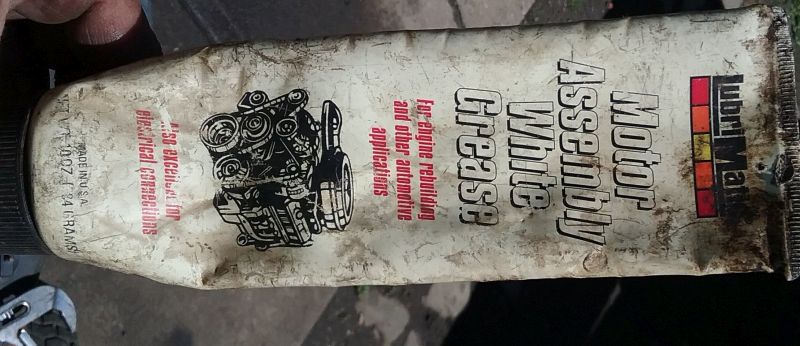
Ever wonder if you are using the right grease? You use white lithium grease for starters. Because in cold temperatures will not get hard and jam up the starter bendix. And has a low temp rating to where the bushing gets just a little warm, the grease will turn to a liquid and the heat will pull in the liquid grease to cool the bushing. To grease the armature, The bushing is in a holder, put some grease in the bushing so when you set it on the shaft the grease will get pushed to the back, away from the brushes for the backplate. When the grease heats up, will get drawn into the bushing. If you lube the shaft of the armature, the grease will get pushed onto the brushes and burn onto the copper strips when running so put the grease in the backplate bushing only. the front of the armature where the gear is just grease up the shaft of the armature and you are good. Grease up bendix is just brushing it on the spline and putting the gear on.
That's it, Later.
A continuation from a second post on the subject.
I actually forgot 2 things in post, being half asleep writing it up. So here there are.
The armature, tape up the part where the brushes ride on and paint the stacks. That's the part that is the electro magnets. This part (the stacks) is raw steel, if gets wet will rust and expand, expand into the wiring of the armature and short it out. So soak the stacks with paint to make waterproof. Paint is nonconductive. I do this on marine starters to give them a fighting chance, lol. Water can also short out the wiring of the armature too, so don't be shy with the paint. Don"t worry, the paint will not make the armature run hotter.
Second is, the backplate and frontplate, you can silicone these to the center field housing (motor housing), to make the motor as waterproof as possible. The electric motor can be as air tight as possible. Comes in handy when crossing a creek, lol.