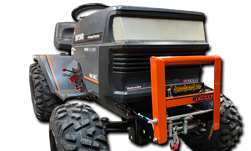
Well, decided to see how it would look in a step through” design:
looks ok. I think I prefer it with the side walls for looks, but theres no denying its easier to get on/off the thing.
It will also make it miles easier to get in/out with a cab on it where you’re already bent over to clear the cab roof.
So, unless theres a significant reason that crops up where I will need the space, its staying as a step through design. Sheet metal is an easy fix to make it look like it was built that way.
not to mention, now I have a place to mount a high/low shifter for the transaxle.
MightyRaze likes this post
MightyRaze Administrator
2017 Build-Off Finalist
2017 Build-Off Finalist
2018 Build-Off Top 3 Winner
2018 Build-Off Top 3 Winner
2019 Build-Off Top 3 Winner
2019 Build-Off Top 3 Winner
2021 Winner of Winners
2021 Winner of Winners
1st Place Build-Off 2022
1st Place Build-Off Winner 2022
10,000 POSTS!
10,000 POSTS!
2024 Build-Off Entrant
2024 Build-Off Entrant
Age : 49 Join date : 2016-09-06 Points : 15588 Posts : 10940 Location : Oklahoma
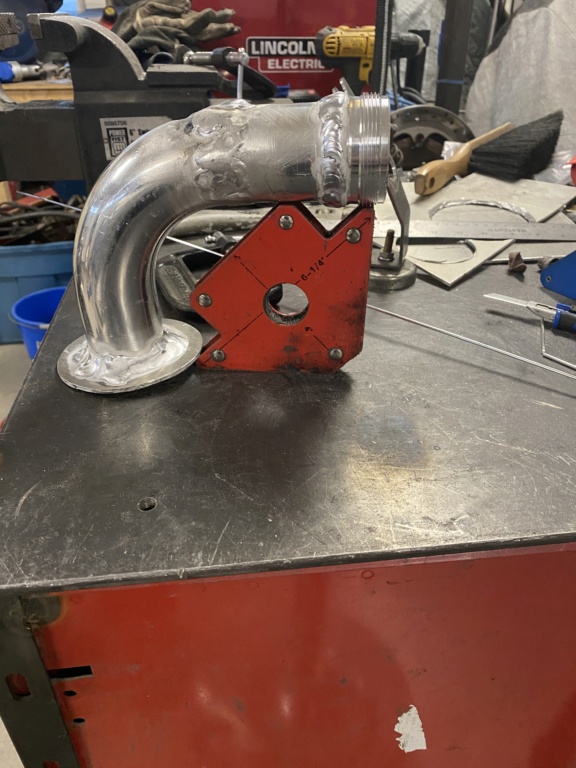
Well, after a kafuffle of a day, all I got done was the fuel filler neck and some work on the tank:
I used an old intake U bend pipe I had lying around. I basically cut it in the middle and made it a J instead of a U. Cut out a flange and welded it to one end and the filler cap on the other.
Little bit messy as is, but a bit of clean up will have it looking at least passable. Its messy because the aluminum in the pipe seems to be pretty soft and it was a bit difficult to get it to flow and not drop away on me. So I had to go back and fill a few spots after I let it cool down.
The “kafuffle” of the day was my argon tank. Bought a bottle yesterday and the regulator was doing some weird bypass/relief noise and the reg would flow even with the flow valve closed. So it was a trip to the welding store, which broke the rhythm for the rest of the day.
I also refitted the ROPS since it goes over the fender where the fill cap will be:
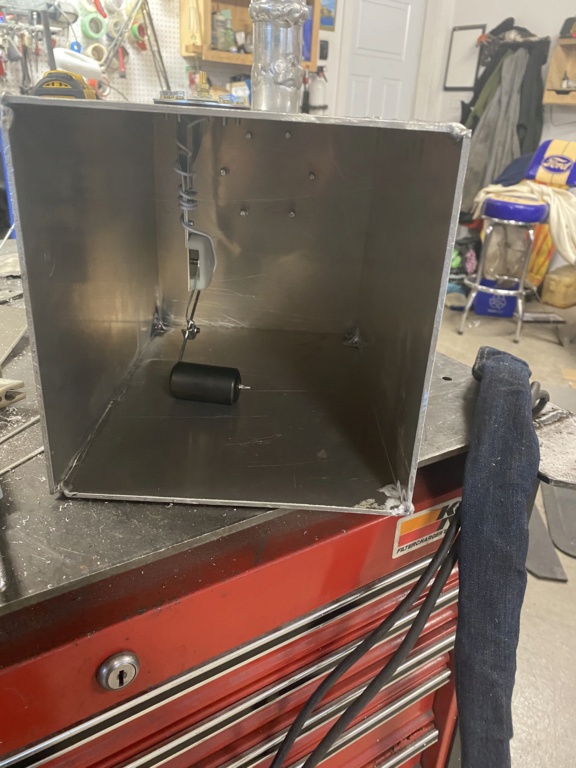
Hopefully tomorrow doesn’t throw me another curve and I can get the fuel tank finished and move on to building the second hydraulic reservoir.
still have to cut the fuel intake hole, the feed out to the carb, the vent line to the filler neck and finally weld the opposite wall to the tank. I left the tank wall to the last so I could work easier on the interior bits.
All thats left to do is a vent and final clean up work.
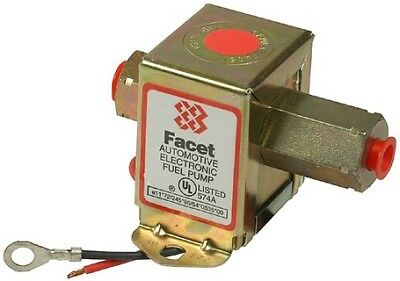
Ordered up a new fuel pump:
Facet 40177N. Min 1 psi, max 2 psi, 7 gpm, 24” lift. I didn’t want to have the briggs pulse pump pulling fuel from the rear of the tractor. With an electric pump I can turn the key on, give it a couple seconds to top off the fuel bowl and fire it off right away. With the pulse pump, you have to grind away at the starter until it sucks enough fuel to fire, putting unnecessary wear in the starter.
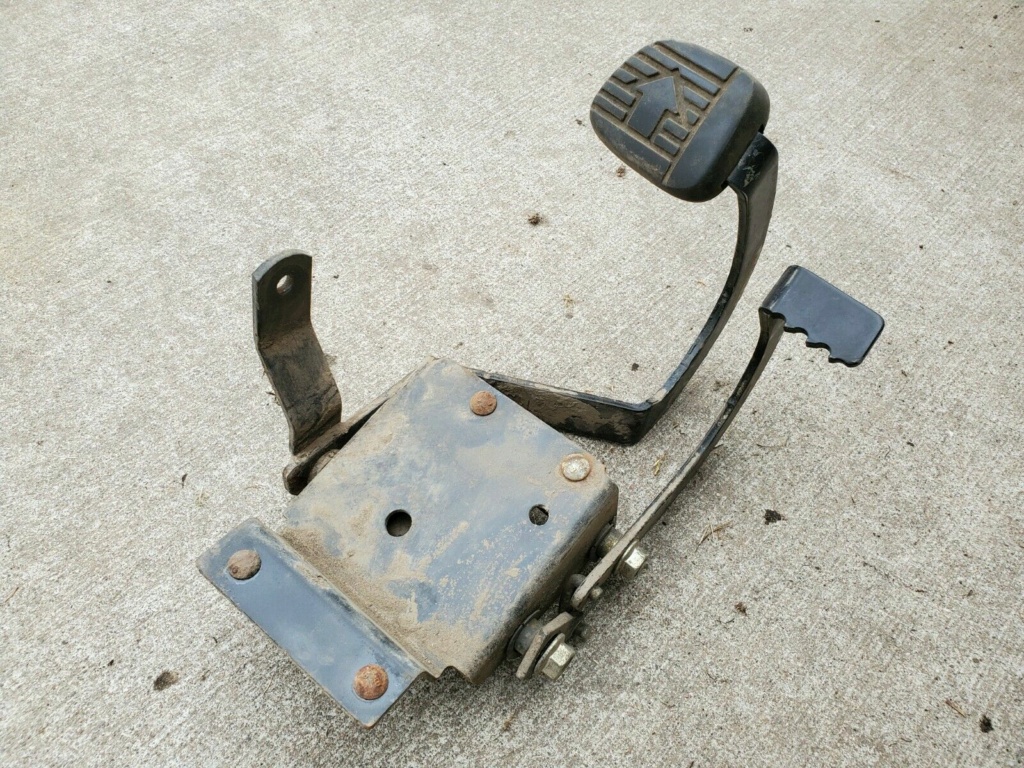
Also picked up a set of pedals from a JD LT180:
I was planning to make my own travel direction pedals, but this is a nice, easy, prepackaged bolt on solution. Saves me effort, but more importantly, it saves me time.
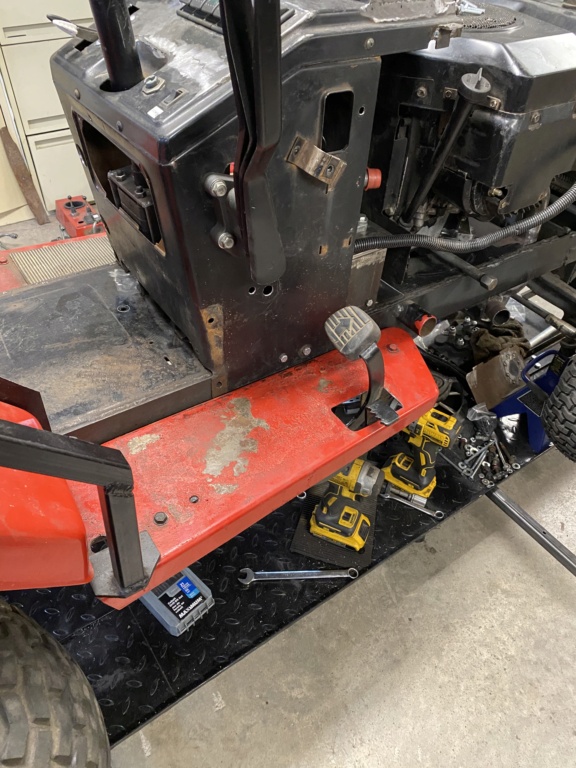
Got tired of rolling around on the floor and trying to bend my broken old back to work on the tractor. So:
Thats an air over hydraulic motorcycle lift table. I had to take my project FJ1200 off to use it, but the bike is on the back burner for now anyways, or at least until the tractor is done. Only so many hours in the day.
The tractor was just a bit too wide for it so I took a couple loading ramps, bolted on some supports and bolted the ramps on.
Now I can wrench/cut/weld at whatever height I need and sit comfortably while I work. Thats an important element for a busted up old guy like myself.
The “wings” make it impossible to use the foot pump, but as I mentioned, its also air powered so raising it is easy peasy.
Then decided the wings would make it more difficult to work on the tractor, so 4 jackstands later:
Now I can get right in close to work on it. When its time to take it off the table, 4 bolts puts the wings back on and roll the tractor off.
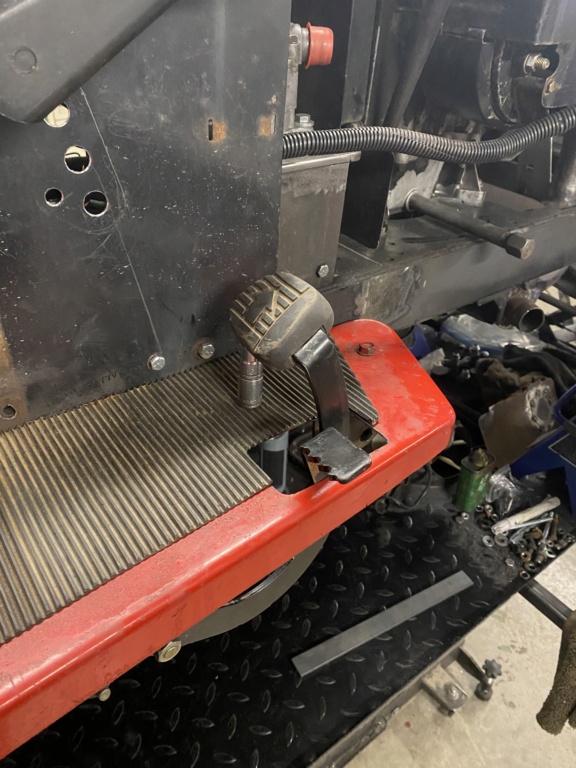
I’ve got a new set of pedal rubber pads on the way. One pedal for forward, one for reverse. The way the case hydrive works, the more you press on the pedal, the faster it goes. Top speed in high gear works out to a smidge over 7 mph. This rig is about power and torque, not speed.
I welded a 1/4” bracket to the frame and then bolted the JD pedal bracket to that. Suffice to say, there’s absolutely no flex in the pedals whatsoever.
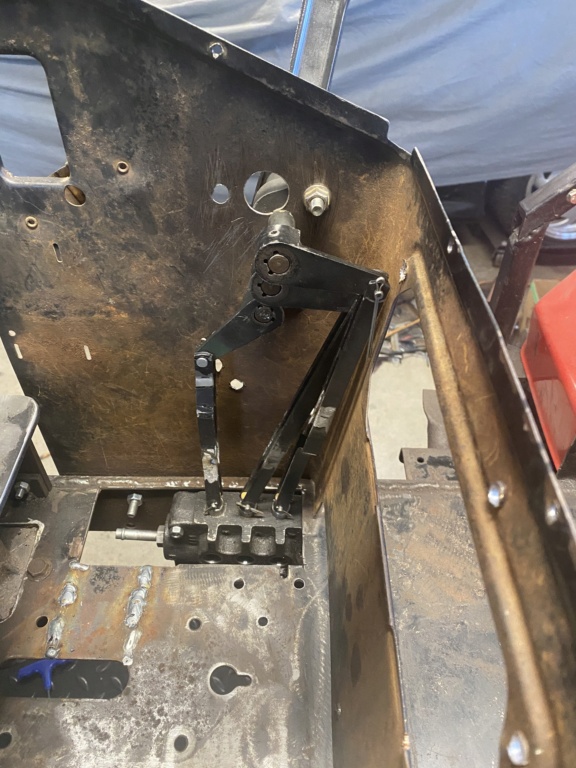
Next job is to build the levers, pivots and linkages.
Definitely starting to get that “SCUT in a GT package” look that I was after:
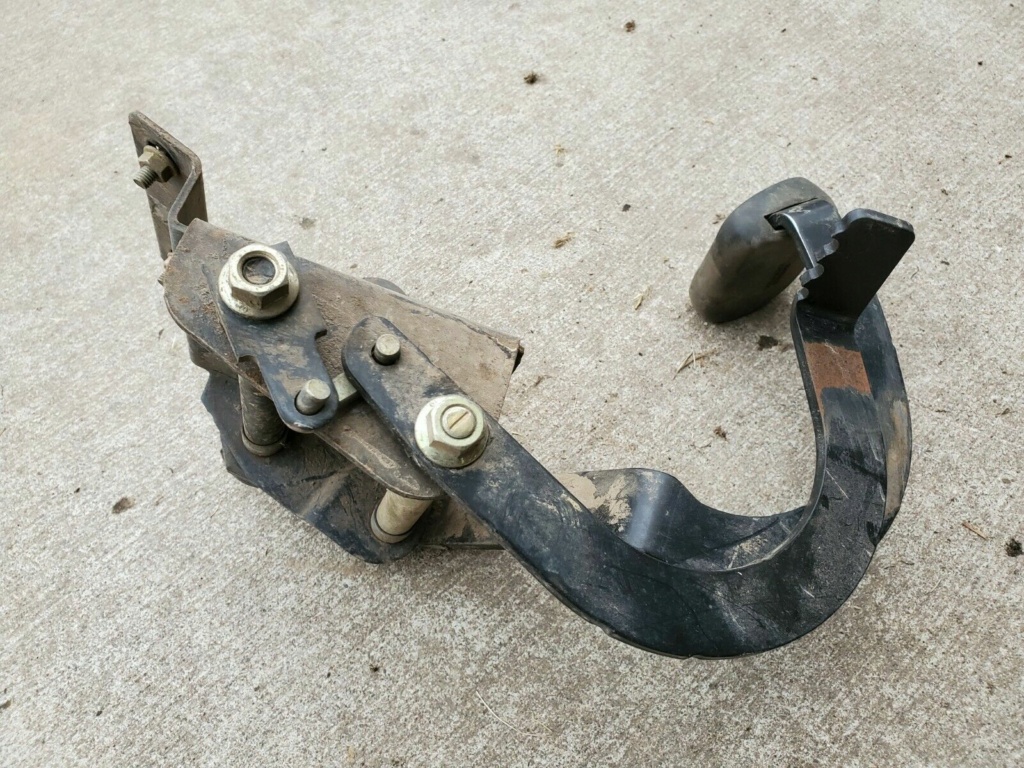
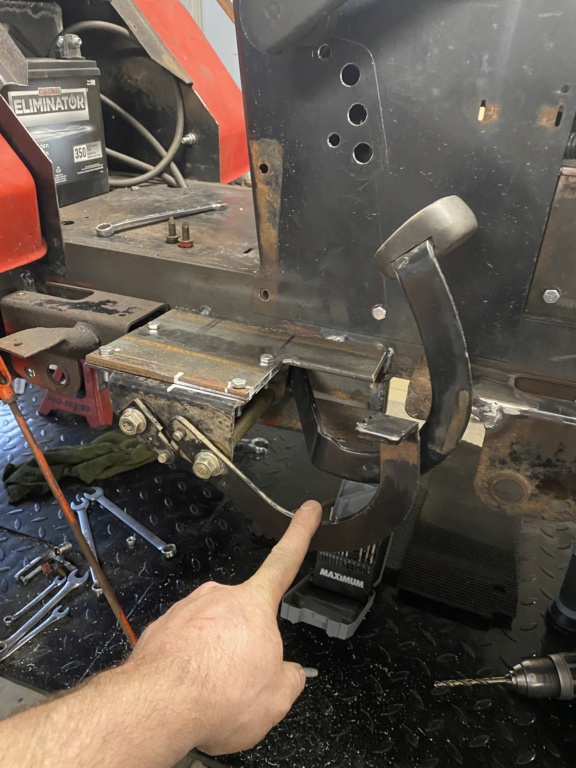
I had to design a linkage that reversed the rotational movement so the travel valve spool moved in the right direction.
All works well enough, but the valve doesn’t “auto center”. So you would end up having to press the reverse pedal to put the valve into “neutral”. Not as easy as it sounds with a bouncing tractor. So I needed the valve/pedals to return to neutral when you lift foot pressure from them. Went around a couple complicated mechanisms and then decided to try a “low tech” solution:
Works perfectly! It also introduces a resistance to pedal movement which makes it more progressive and easier to make fine adjustments.
The springs are there just for proof of concept right now. The final form will look more “oem” and less “backyard” engineering.
I also took some time to fix some “slop” in the JD pedal assembly. They cheaped out and used a plastic sleeve as a bushing for the rods. That wore through rather quickly and its steel on steel as well as allowing quite a bit of play. So I turned out some brass bushings on the lathe:
They are a press fit in the bracket, but just over a thou inside clearance for the shaft. Pedals are nice and smooth now and virtually no slop/play. Thats important when you consider the travel valve doesn’t move much more than 3/4” from full reverse to full forward. You want those controls smooth and tight.
Still a long way to go, but the layout is looking good so far.
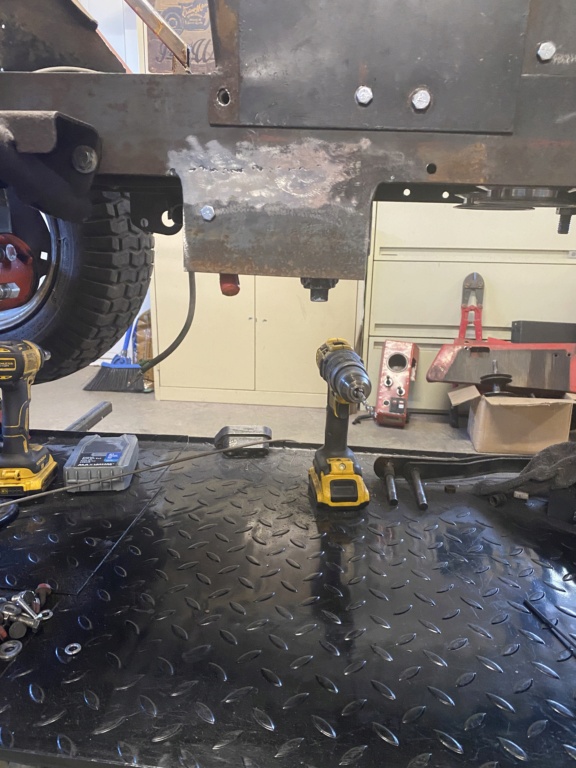
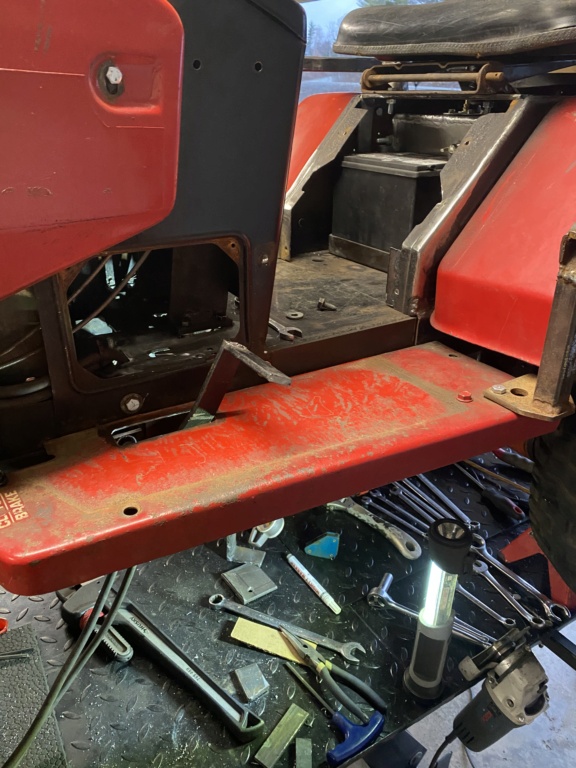
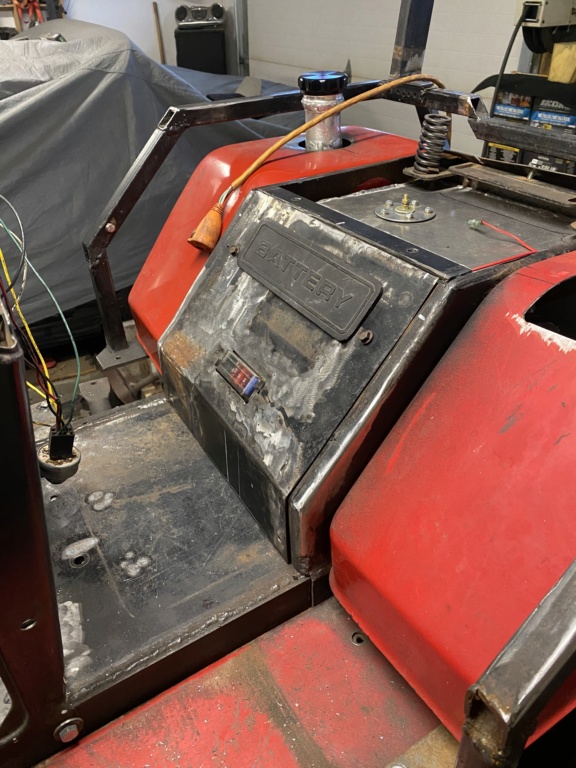
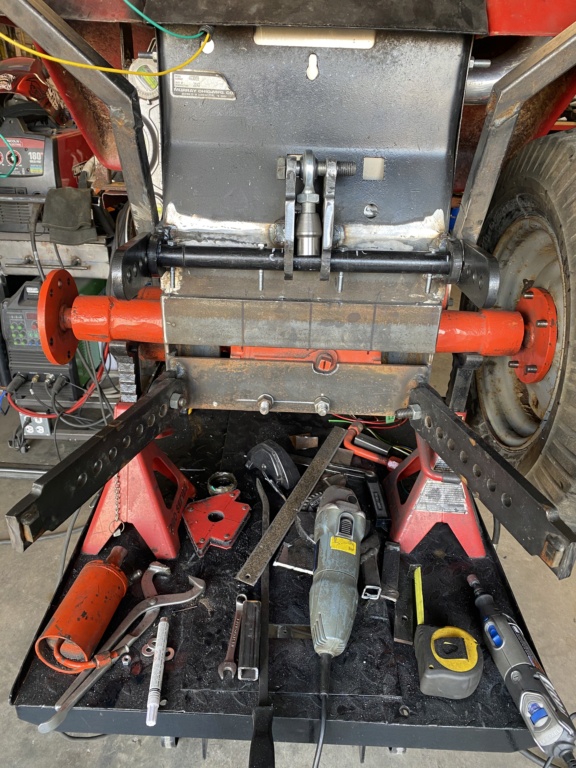
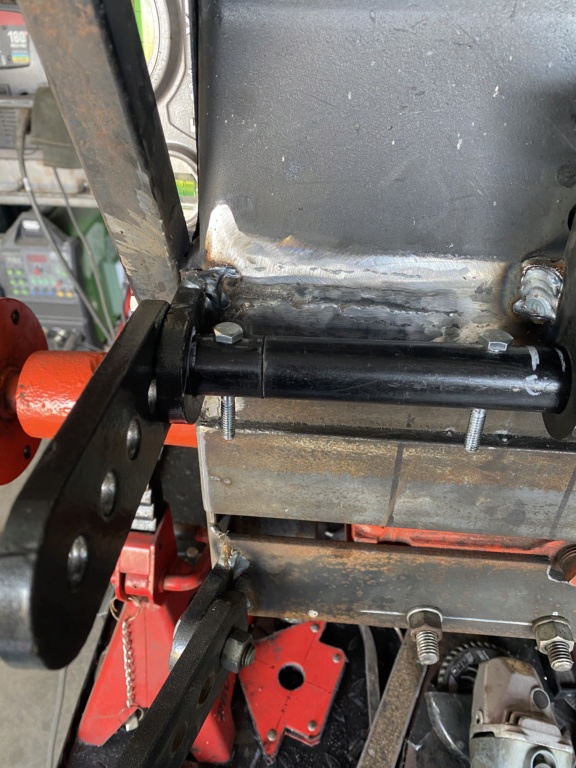
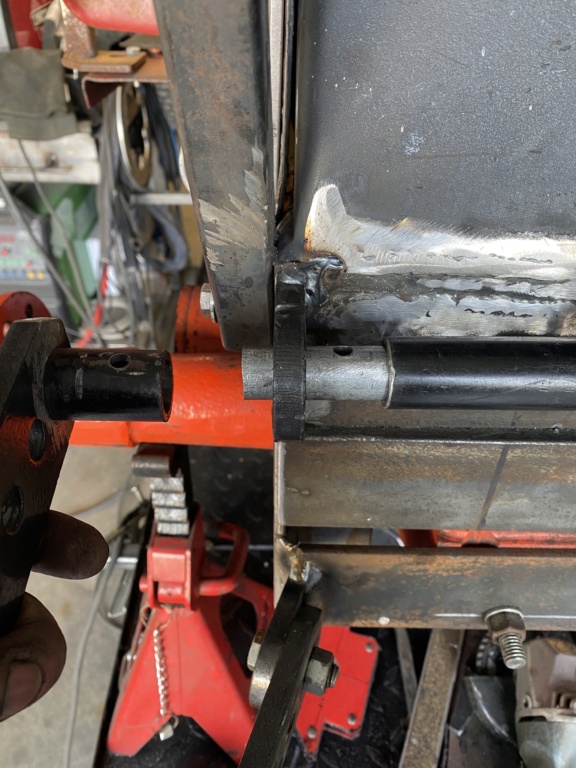
Steering pedestal has always been too “floppy”. Steel is thin and needs the rest of the body work to stiffen it up. So I welded some 1/4x3” plate to the frame and bolted the pedestal to that:
No movement now! You can damn newr lift the tractor by it. It also gives me a spot to bolt on a firewall so I can add some noise damping material and it should help keep the engine “smells” out of the cab in the winter.
Slow but steady. I don’t mind going slow to make a better final product. Wiring is always a slow process for me. Thinking, designing, drawing out diagrams, fitting, readjusting because things don’t fit like I thought they would, crimping/soldering/heat shrink, etc, etc, etc....
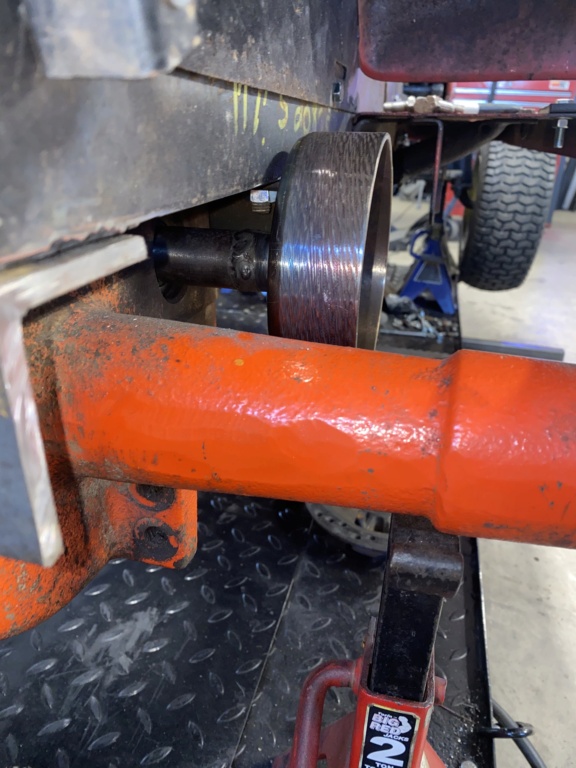
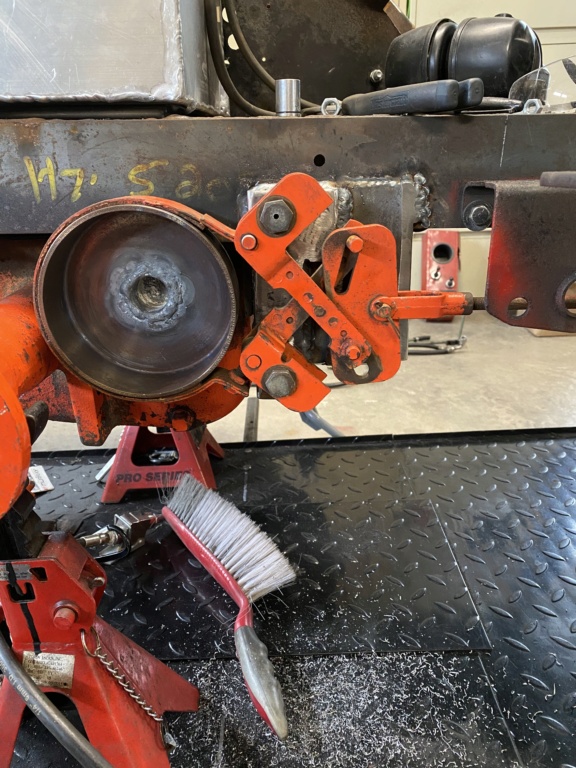
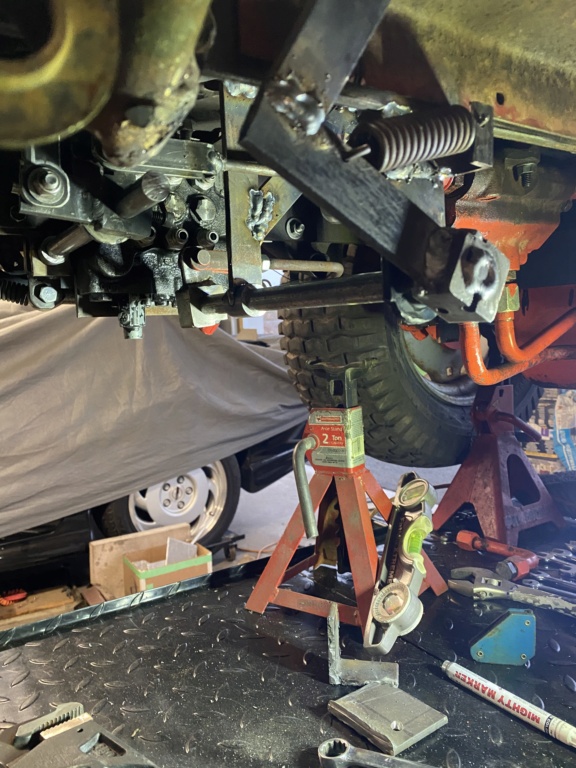
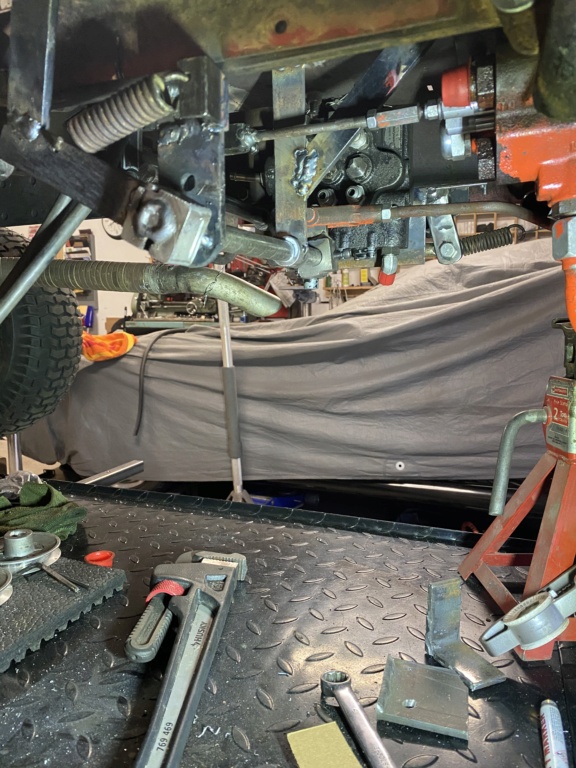
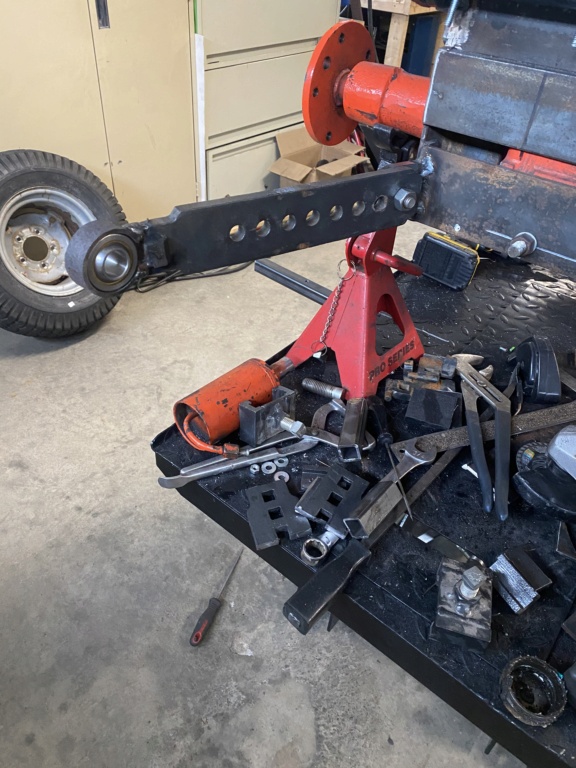
Took a little break from wiring and started building the foundation for the 3 pt hitch:
Its not readily apparent in the pics, but the 3pt basically attaches directly to the transaxle. Thats good for pulling atrength and power without loading up the tractor frame.
That was yesterday. Woke up today and back was bothering me as well as just plain didn’t want to suck smoke and sparks all day.
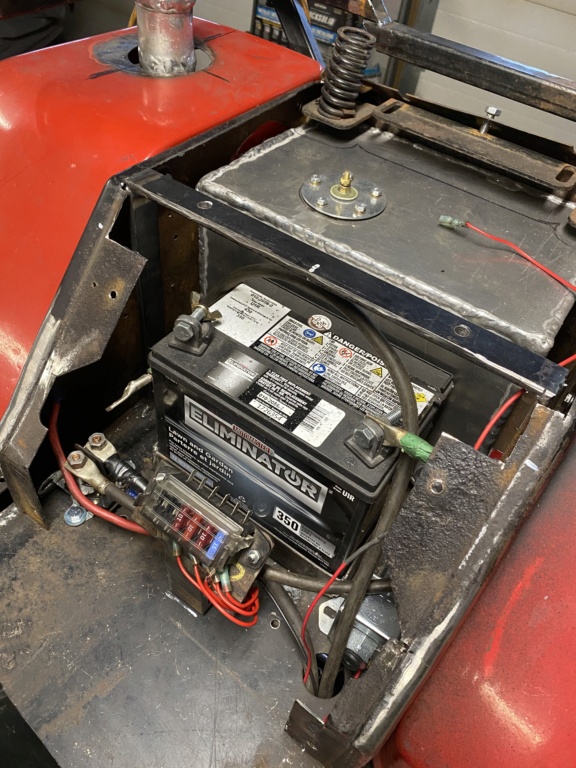
So I did a little more work on the wiring.
Got the main harness done, including the run/start/charge circuits.
Also got the switch bank wired up for power and ground. The switches take power from the ACC key position and only deal with milli-amps to control the relays. Takes power off the ign switch and the dash switches. Then started wiring the relay circuits for headlights, marker lights and work lights.
Tomorrow I’ll finish that up and start on the relay bank for the hydraulic cooler fan and fuel pump. Hyd fan will run off a temperature switch (haven’t decided if it will be on at 180F or 200F) and the fuel pump will run when the key is in ACC.
I’m essentially prototyping and building the rh side simultaneously. Once built, I’ll pull it apart (only tack welds) and duplicate them for the lh side.
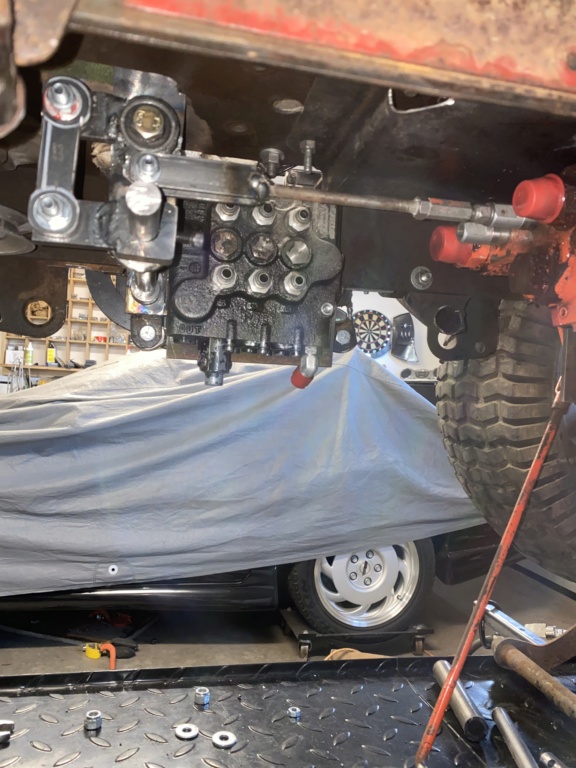
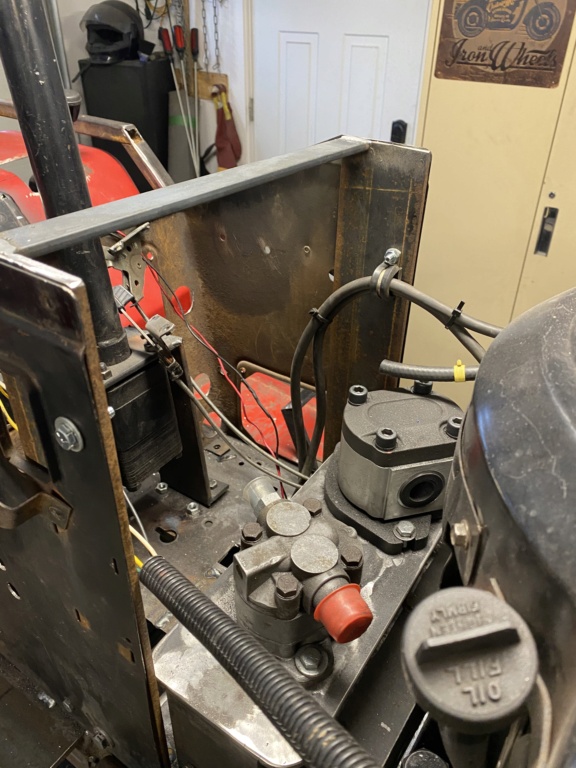
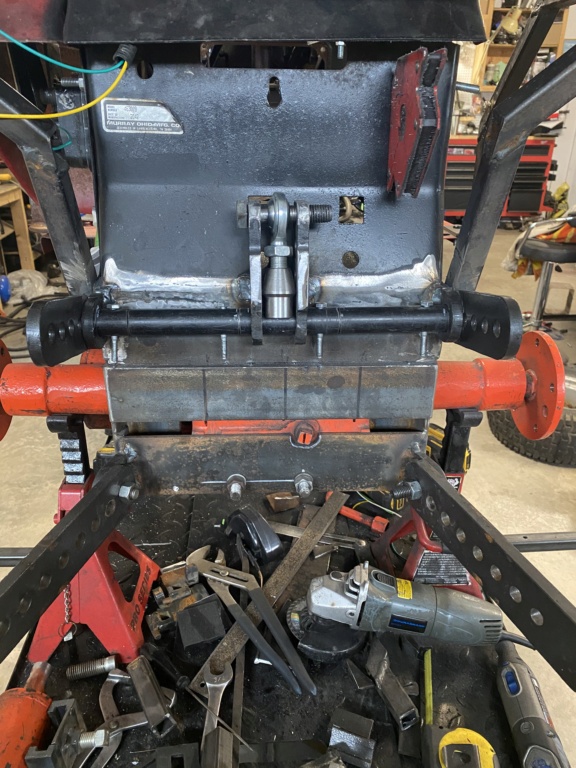
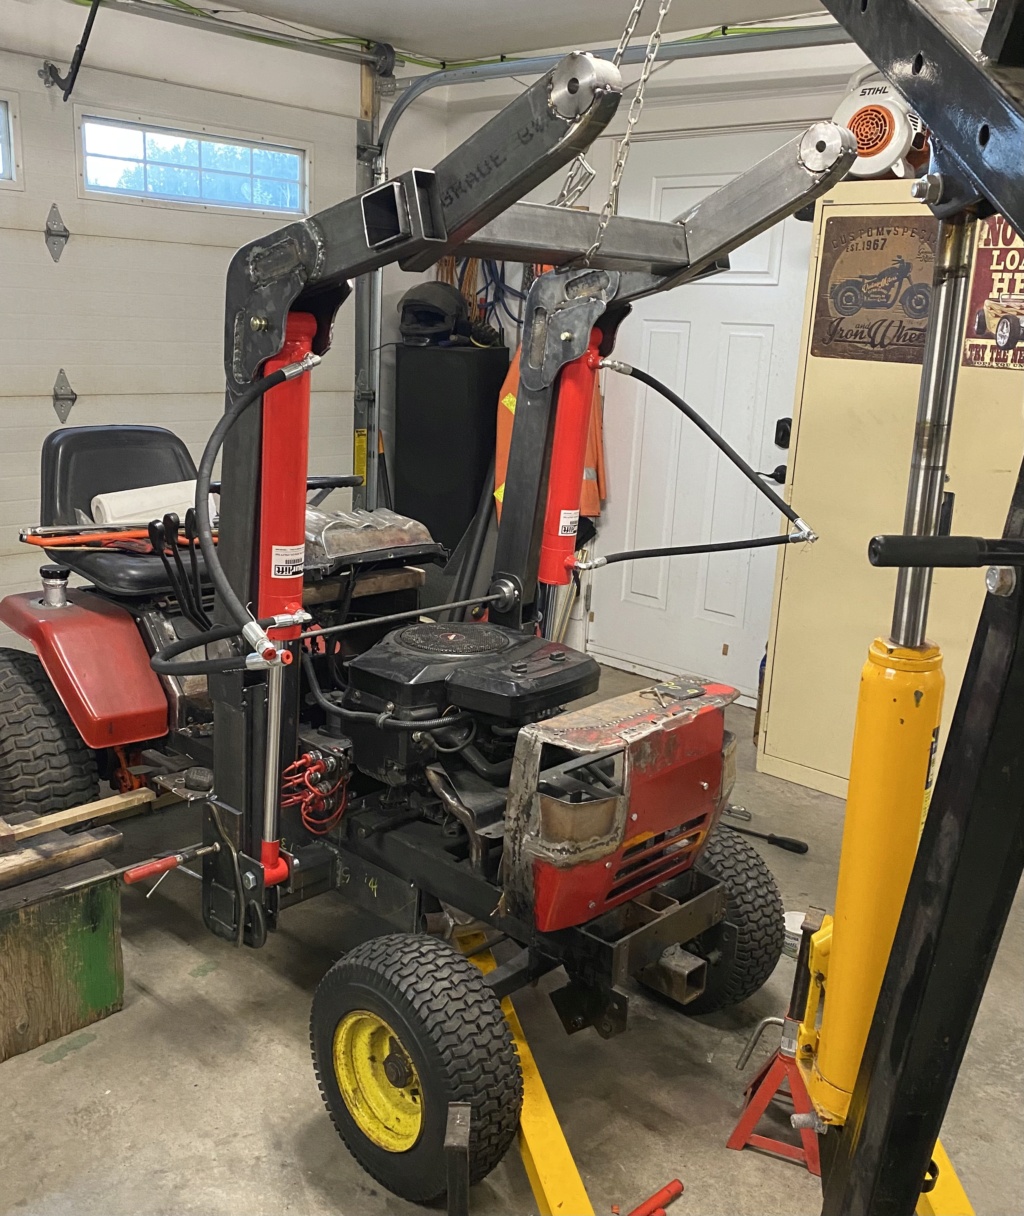
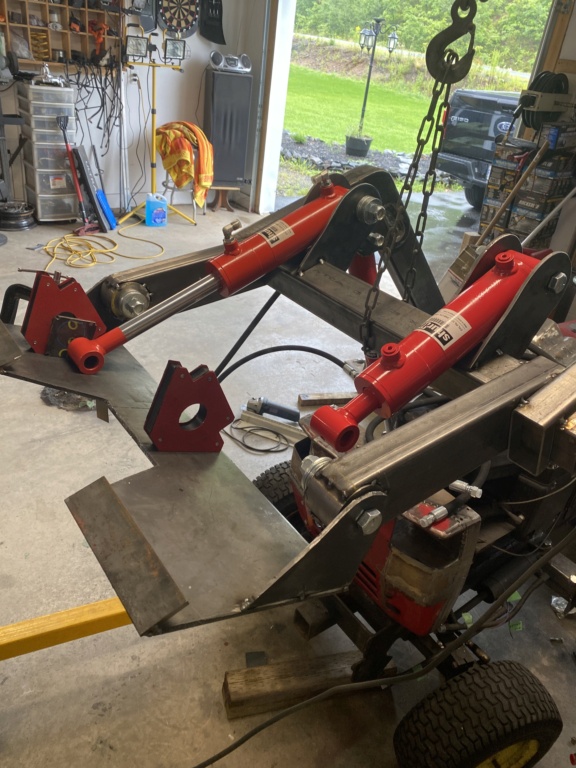
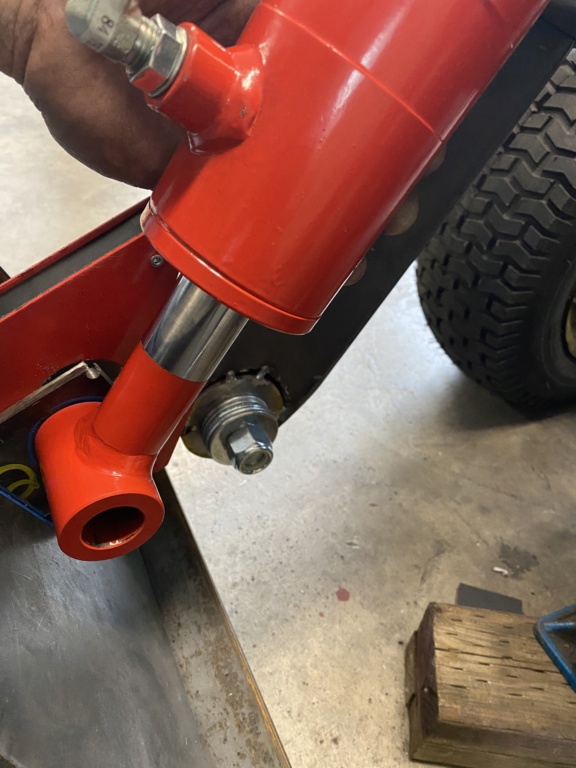
Ready to start work on the curl cylinders. But in order to do that, I need the bucket installed to get the roll back and dump angles correct for the amount of stroke my cylinders have.
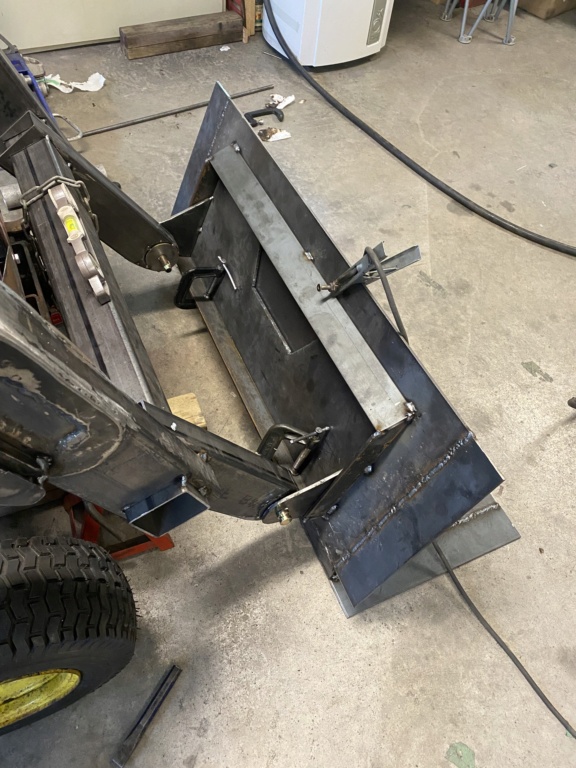
So, on to making the quick attach for the bucket:
with the bucket/plate installed, I can start making the rest of the pivots and cylinder mounts.
Really moving along now. Once its all in place, I’ll pull all the loader bits off the tractor and finish it with tig welding on the fab table. At my pace, it should take a couple days to get all the welding done. But it will be strong and (hopefully) neat and clean.
once its all welded up it will be time to turn back to the hydraulics for both the loader and the tractor…
Rustbucket Garage Veteran Member
2022 Build-Off Entrant
2022 Build-Off Entrant
1000+ Posts
1000+ Posts!
Join date : 2021-01-15 Points : 2855 Posts : 1340 Location : Upstate New York
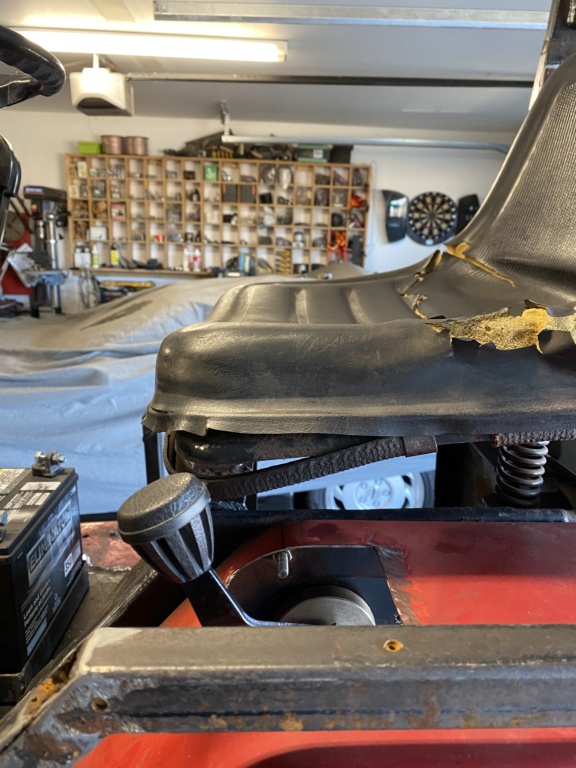
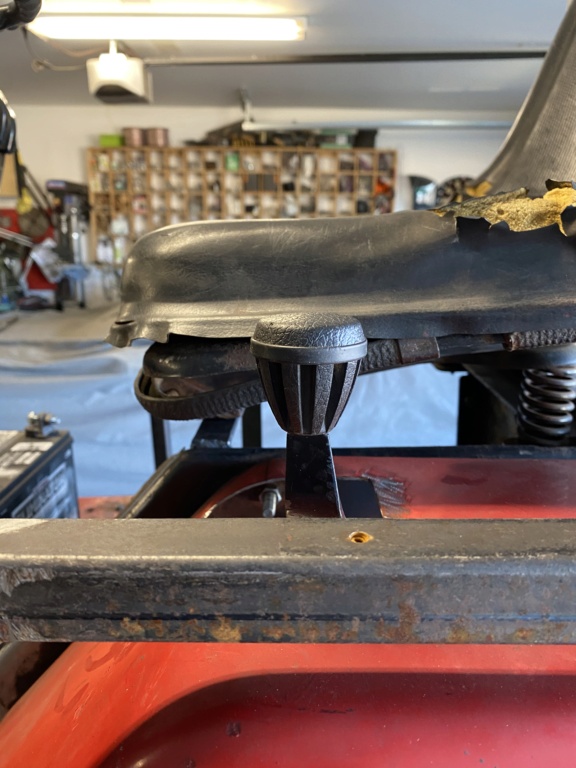
It does look quite high in the picture, but once I drop my fat butt on it, it drops at least half of the height you see.
It is a touch higher than the original seat, but thats not exactly a bad thing on a loader. It gives me a good all around view of whats going on as well as a better view over the hood to see whats going on at the bucket.
Comfort is 300% better than the old “foam on steel” seat, with the back and side supports and the suspension stroke.